
You need a pin wheel....
Seriously, you need a pinwheel right now. They are amazing. I have discovered if you add a pinwheel to anything, it suddenly becomes epically awesome. Have a piece of paper? Put a pinwheel on it! Have an ugly, plain wall? Put a pinwheel on it! Have a White wins Spritzer Alright...maybe it doesn't work all the time, but you get my point!I decided to now put pinwheels on gift boxes, cards, and even some plain kraft paper to make super-cute stationary! Kraft paper is one of my new secret loves.
I found a roll of it (more like the end of a wrapping paper roll, but hey, it works) during my pinwheel photoshoot, and I immediately found a use for it. This may be a weird, pack-rat kind of habit, but I can't throw nice paper away. I've even been known to keep the paper used to wrap around a bouquet of flowers. Ehem, yeah, I am weird.
So at this point, I am guessing you are dying to make your very own pinwheel to decorate, well, everything? They are very easy to make.
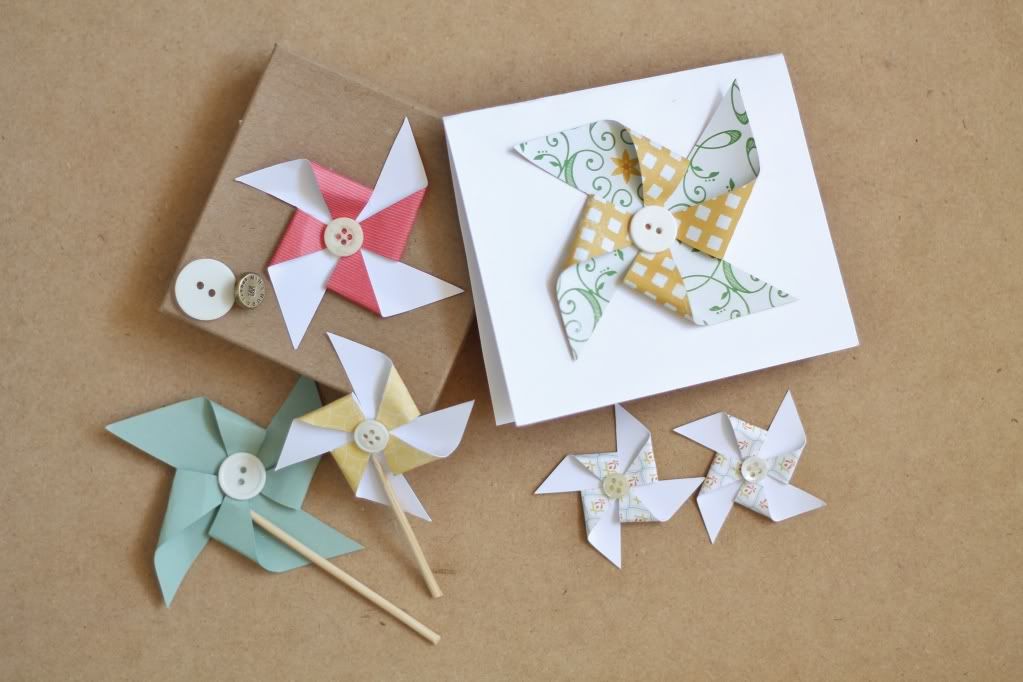
All you need is a square-shaped piece of paper
scissors, and glue (I use a glue gun. It's a life-saver.).
Cut from the corners to the center about 3/4 of the way. Then fold in every other corner and glue accordingly. I use a button to conceal the center (yay for buttons!), and there you have it.


- Clay
- Cookie cutters
- Stamp-able letters
- Dough rolling pin to roll out the clay
- Paper tissues for the decoration
- Mod podge for glueing
- Acrylic transparent gloss vanish (water based)
- Bakers twine or thin ribbons
- Start by rolling out the clay until it’s all about 1cm thick or less if you prefer.
- Use your cookie cutters to stamp out your shapes. Use a pencil or tooth pick to make a hole at the top of each shape enabling you to hang them later.
- While the clay is still pliable you can stamp in the doodles into your shapes.
- Set aside and wait for an hour approximately so the clay starts to dry a bit.
- Take your favorite tissue paper motives and rip it into small pieces so you have a pattern that fits onto parts of your clay.
- Use the mod podge and apply onto clay and tissue paper. Glue the paper onto the clay so that everything sticks evenly. Do it as often as you want onto other parts. Set aside.
- Leave all the shapes to dry out overnight. I had a clay that dries in the air. No microwave needed.
- The next day you can glaze your decorations. I did two layers so it was nice and glossy.
- As the last step use thread or bakers twine and get it through the hole. Tie a knot in the end. Tadaaa ready is the ornament.
No comments:
Post a Comment